Showing posts with label mod podge. Show all posts

Tuesday, January 25, 2011

ANOTHER Lamp!

I had a little 'situation'.  I changed the lamp in my bathroom.  The old one was a small lamp, and it used the same kind of bulb as a night light.  It was just enough light that when you go to the bathroom in the middle of the night, you don't HAVE to turn the big light on.  Perfect - except the lamp base was a couple of snowmen with BLUE accents and the shade was a faded light baby blue.  And my bathroom?  It is NOT blue - well - it isn't blue - but we still have the early 70's blue toilet and tub.  I TOLD you we're in the middle of redoing our house!!   Anywho - - I got a wild hair (actually, I have several - - going GRAY early is very predominant in my family - - and do you know how crazy those hairs are???  WILD AND CRAZY,  hmmm maybe THAT'S why Steve Martin had gray hair at a young age too....) I really didn't need to post all that, did I?  LOL..   OK OK back to my lamp story....

So I put a NEW lamp in my bathroom a couple of weeks ago, and now I have to keep my bathroom doors shut at night or I don't sleep so well.  The lamp takes an appliance bulb.  And the smallest wattage is 40w.  And it doesn't help that the ONLY lamp shade I could find that was a good size for the lamp was WHITE.  Now, I need sunglasses to put on when I get up in the middle of the night.  LOL

I decided to try to darken the shade a bit.  (I didn't take during photos because I just wasn't sure how this wild hair was going to turn out - now I wish I did)

First of all, I covered the shade with some 'Script-y' scrapbook paper.  Since I only had 12" x 12" pieces, I had to piece it.  Next time, I'll be more careful of how wide my seams are, but for now, I'm ok with this.  I learned something.  Learning is good!!  I Mod-Podged the paper to the lamp and put a coat of Mod Podge over the paper.  I painted the inside of the lamp shade dark brown (I need to put another coat on it, but was so excited, I didn't take the time last night.  PLUS - - it was late when the hairs went wild!!).  Next, I rubbed some of the paint on the outside, then wiped it off.  It aged the paper perfectly.  Now to 'finish' the edges.... 

So - I have this 'thing' for twine....  Given the choice of fancy fru-fru ruffly bows or plain twine?  I'll take the twine every time!!  I hot glued twine around the top, and looped it.  I LOVE how that turned out!!  Then I hotglued the twin around the bottom, and made a bow.  I applied my 'W' that I cut out with my cricut (Lord Fontleroy Brown is the font - the same font I used for my other lamps - look here!).

I put the shade back on the lamp and turned it on!  Love it!!


Waddayathink?? 

By the way - pretty sure that's ALL you get to see of my bathroom in it's BEFORE state...  :-)

Have an awesome day!

Hugs ~~ Suz


Posted this at:

The Girl Creative

BCD

Tuesday, December 28, 2010

My Altered Canvas

First - - I need to start with a confession......  I've been so excited about all of the ideas I'm finding in Blogland.  I just can't wait to jump in and try some of the projects I've seen!!!  So.....  I really got wrapped up in blog-stalking.....and I guess I lost my creative mo-jo.....  It seems like every project that I wanted to get done for Christmas just......... well......... didn't go the way I had planned.  I wanted to make a cookbook for my daughter.  Thought I would do it sort of like a scrapbook.......... but then I couldn't find the papers I wanted to use.....  I really had a problem finding papers with kitchen/recipes kind of themes.......  soooo  Then the project changed into a recipe box.  I bought 4 paper mache boxes to decorate up as recipe boxes.  I could do 4 and give the other 3 as gifts to my sister-in-laws and mom-in-law.  But I couldn't get past the fact that my daughter had asked for a recipe BOOK.....  So, I decided to type up and print recipes on cards and put them in the scrap book.......... Well.... I couldn't find a printable recipe card template that I liked.  And I scrapbook sooo slowly.....  And then........... I happened to stumble on MyComputerIsMyCanvas blog........ And the SOOO-PER CUTE recipe cards she made with Scrapbook Max! ....... AND - - they have a 30-day trial period.....  So I downloaded it and OH MY!!  It is exactly what I was looking for!!   So I bought the software and downloaded it!!  But by the time I went through all of this, and considering I had at least 50 recipes I wanted to do............  I didn't get all the way done.  :-(   But I am halfway and I will get it done soon!  The Scrapbook Max! software is soo simple to use!  I love it!!!

So my next project was an altered canvas for my son.....  It SHOULD have only taken me MAYBE 3 hours to do.  Well - it didn't!!  It took me close to seven hours.  And I didn't take enough during pictures because I had to keep redoing parts of it.............  The next day I seriously had a bruise on my forehead.......  not really, but I should have!!

Anyway, here's the after picture and my instructions on how I made it.


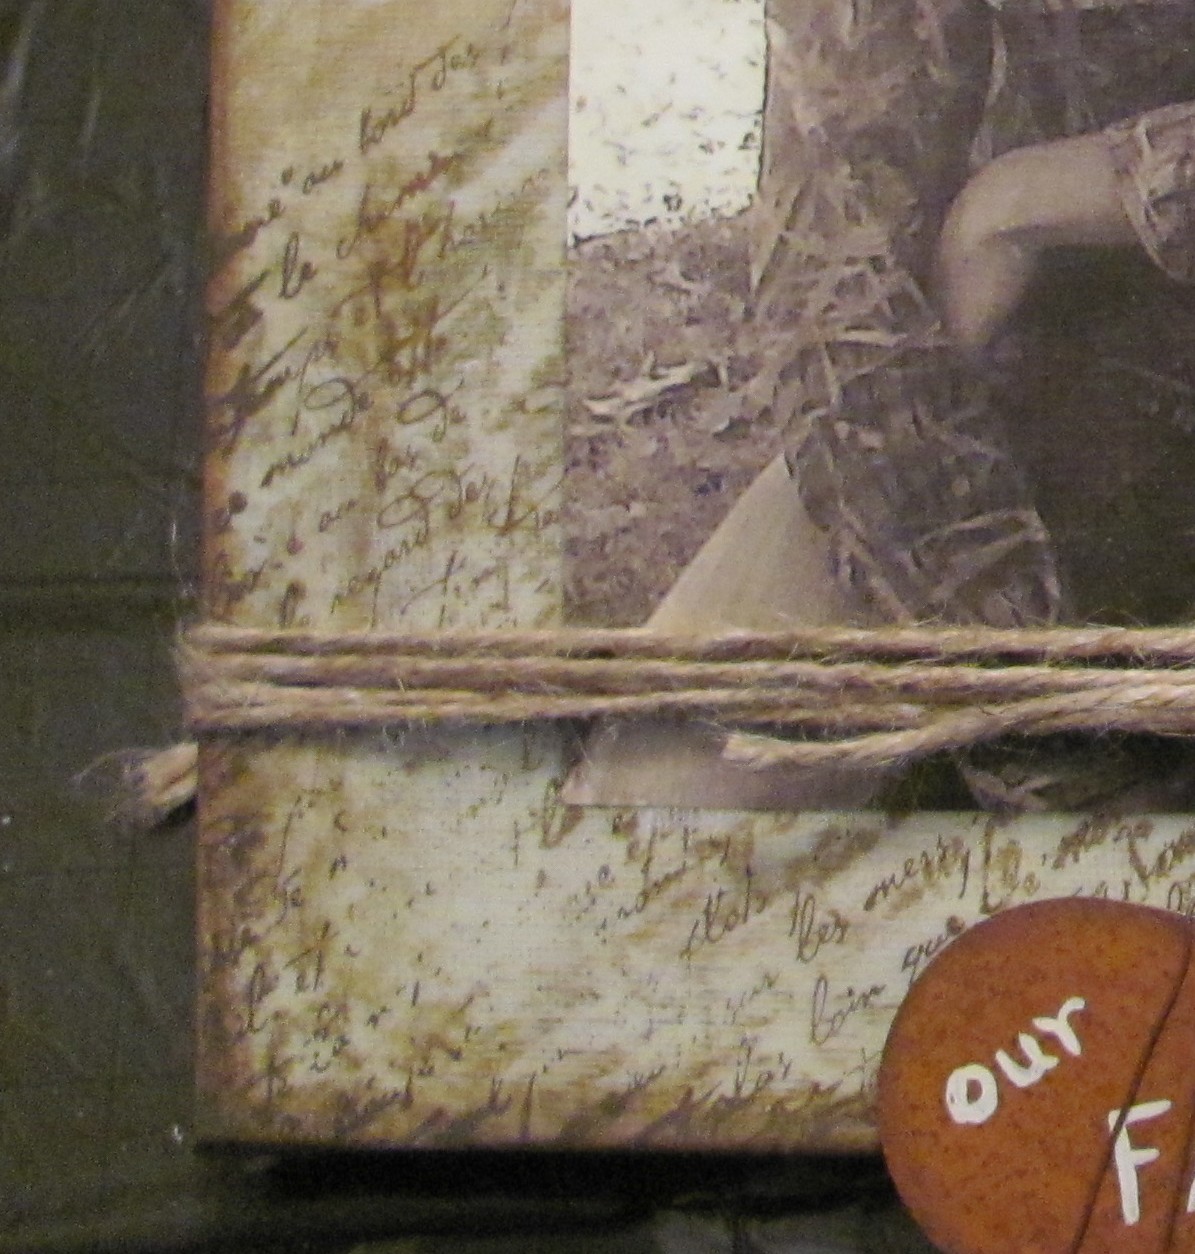
First, I started out with a blank, new canvas.  I didn't want it to be WHITE, so I painted it with some acrylic craft pain.  The color is 'Steamed Milk'.  I wanted it to be distressed, so I then painted some chocolate and olive on it, and then wiped it off.  It was just NOT giving it the effect I wanted so I repainted it Steamed Milk.  I remembered that I had a script stamp and used gold and chocolate ink with the stamp and stamped my canvas.  In some places, the stamp is defined and in other places it's sort of blurred, which was pretty cool.  I then just took my chocolate stamp pad and rubbed it on the edges and here and there on the face. 

Then came the part that really had me frustrated.  I printed my picture on regular paper and when I started to mod podge it to my canvas............ IT WRINKLED!!!  So I pulled the picture off and reprinted it and tried again...........  It took longer for the wrinkles to come and then when I tried to pull the picture off, it stuck.............  So there I sat with a knife, trying to scrape it off............  after about an hour........ I FINALLY got it off.  I reprinted my picture on card stock and just took my time working with the picture and the mod podge.  The edge only got a little wavy -- NO WRINKLES!!!     I put a couple of coats of mod podge on the whole thing.  Tied the jute around it.  Painted the words on my heart and wrapped wire around it and attached it to the jute.  Stapled jute on the back to hang it with and there you go!!  I was really worried that my son wouldn't like it but he loved it............  YAY ME!!!


Thanks for looking and let me know if you have any questions!!!  

Hugs ~ Suz


I'm joining in  on:
Visit thecsiproject.com