Friday, August 23, 2013

When Life Hand You Tomatoes!

I honestly don't know what my deal is.......... I hate that I only post once in a while.

 Why??? Why can I not post on my blog??

 I love blogging and visiting all my blog buddies (that's a real term!! I'm sure of it!)....

This past week, a co-worker gave Mr. Inspiring and me 2 5-gallon buckets of fresh ripe tomatoes and a bunch of green peppers, banana peppers, and jalapeno peppers....... So.... what did I do?? I made SALSA, of course.

 And yes, this post will reveal how sorely out of practice I am with my blogging......

 No. During. Pictures...........

 BUT -- - -- (I say, hoping for redempetion)


 I can share my recipe....................

 Salsa    (De Susanna - haha!! )

6 quarts peeled & chopped fresh tomatoes
3/4 cup white vinegar
5 jalapeno peppers, chopped (remove the seeds for less heat)
5 banana peppers, chopped
1 medium green pepper, chopped
1 medium onion, chopped
3/4 tsp minced garlic
1 tbsp sugar
3 tbsp cilantro flakes
1/2 tsp black pepper
1/2 tsp salt
1 tsp cayenne pepper
1/4 tsp red pepper flakes
1 can black beans, drained
1 small can tomato paste

 The easiest way to peel tomatoes is to cut an 'x' in the bottom of the tomato and make a couple small slits by the stem, then drop them in boiling water. As soon as the skin cracks/splits, remove the tomato from the boiling water and drop into a bowl of ice water. It peels off so easily.

Core the tomatoes and then chop them up. Put into a large stock pot and add the remaining ingredients. You'll need to let the mixture cook for at least an hour, to cook down and get thick.

When I made mine, I added the beans and paste after it had cooked for about an hour. The tomato past helps thicken it up, and also adds a sweetness to it.  (I also added a few squirts of lime juice into the second batch..... I think it helped cut some of the sweetness of the tomatoes.)

After it's cooked down, spoon it into clean, dry canning jars and cover with your 2-piece lids. Water bath can it for 40 minutes, at least. Remove the jars from the boiling water and let cool. As it cools, your lids should ping as they seal. I usually let the jars cool overnight and then check them in the morning. If the lids have any give or pop when you push them, you didn't get a good seal and you'll have to refrigerate those jars and eat them first.

This recipe is very east and you can add or subtract the peppers and seasonings for your personal tastes.  We like our's on the hot side.

Mr. Inspiring's exact words:  I never want salsa from the store ever again!!


I hope y'all enjoy the recipe!!

Hugs ~~ Suz

Sunday, February 3, 2013

Pillowcase Love!!

When I started getting ready for Christmas last fall, I decided not to stress myself out too much.  I wanted to enjoy the holidays.  Remember the little moments.  Pay attention to those I love. 

I didn't create a HUGE list of gifts that I 'had' to make.  One project I made was a couple of pillowcases - one for me and one for Mr. Inspiring...........   They really got me into the Christmas mood!  I found a tutorial in Pinterest, and then somehow I lost it........  I think somewhere I saw that these pillowcases were called 'sausage' cases??

Well, now Valentines Day is close and I've decided that I might like to try to make pillowcases for us for every holiday and/or season.  So here is my Valentine edition.

Mr. Inspiring and I went to the fabric store last weekend.  I found these fabrics......  Actually, they probably wouldn't have been my first choices, but when you wait til nearly the last minute, Hobby Lobby tends to sell out quickly and there wasn't much left to choose from.


First, you need to pick out 3 fabrics.  One will be your main fabric - the part that you put your head on.  We'll call that 'A'.  Then you need a piece of trim, 'B'.  And the end, the contrast piece, we'll call 'C'.


For each standard pillowcase, you'll need to cut:

A = 24" x 41"     (for King size pillows:  32" x 41")
B = 3" x 41"        (Same for King)
C= 12" x 41"       (Same for King)


At this point, I press all the pieces.  Then you want to press 'B' in half, long-ways.


To assemble:


Lay 'C' on your table, right side up.


Lay your trim piece 'B' next, cut side at the top, even with the top long cut side of 'C'.


Lay piece 'A', FACE DOWN, a long cut side lined up with the other 2 pieces of fabric.


Next, kind of roll piece 'A' up from the bottom, enough that you can fold 'C' over it to meet the top, but keep the rolled part of 'A' far away enough from the top that you don't pin it and sew it.


Fold the bottom of 'C' over everything and pin all the pieces along the top edge.  You should only have 5 cut edges that you're pinning.  No folded or rolled edges. 


With a 1/4" seam allowance, stitch the lenth of the fabrics.

Turn the pieces right side out by pulling and unrolling all at the same time.  You'll find that you now have a hidden seam.  (Isn't that cool??)


Next, trim the side ends so that all three pieces are all the width of the main fabric.


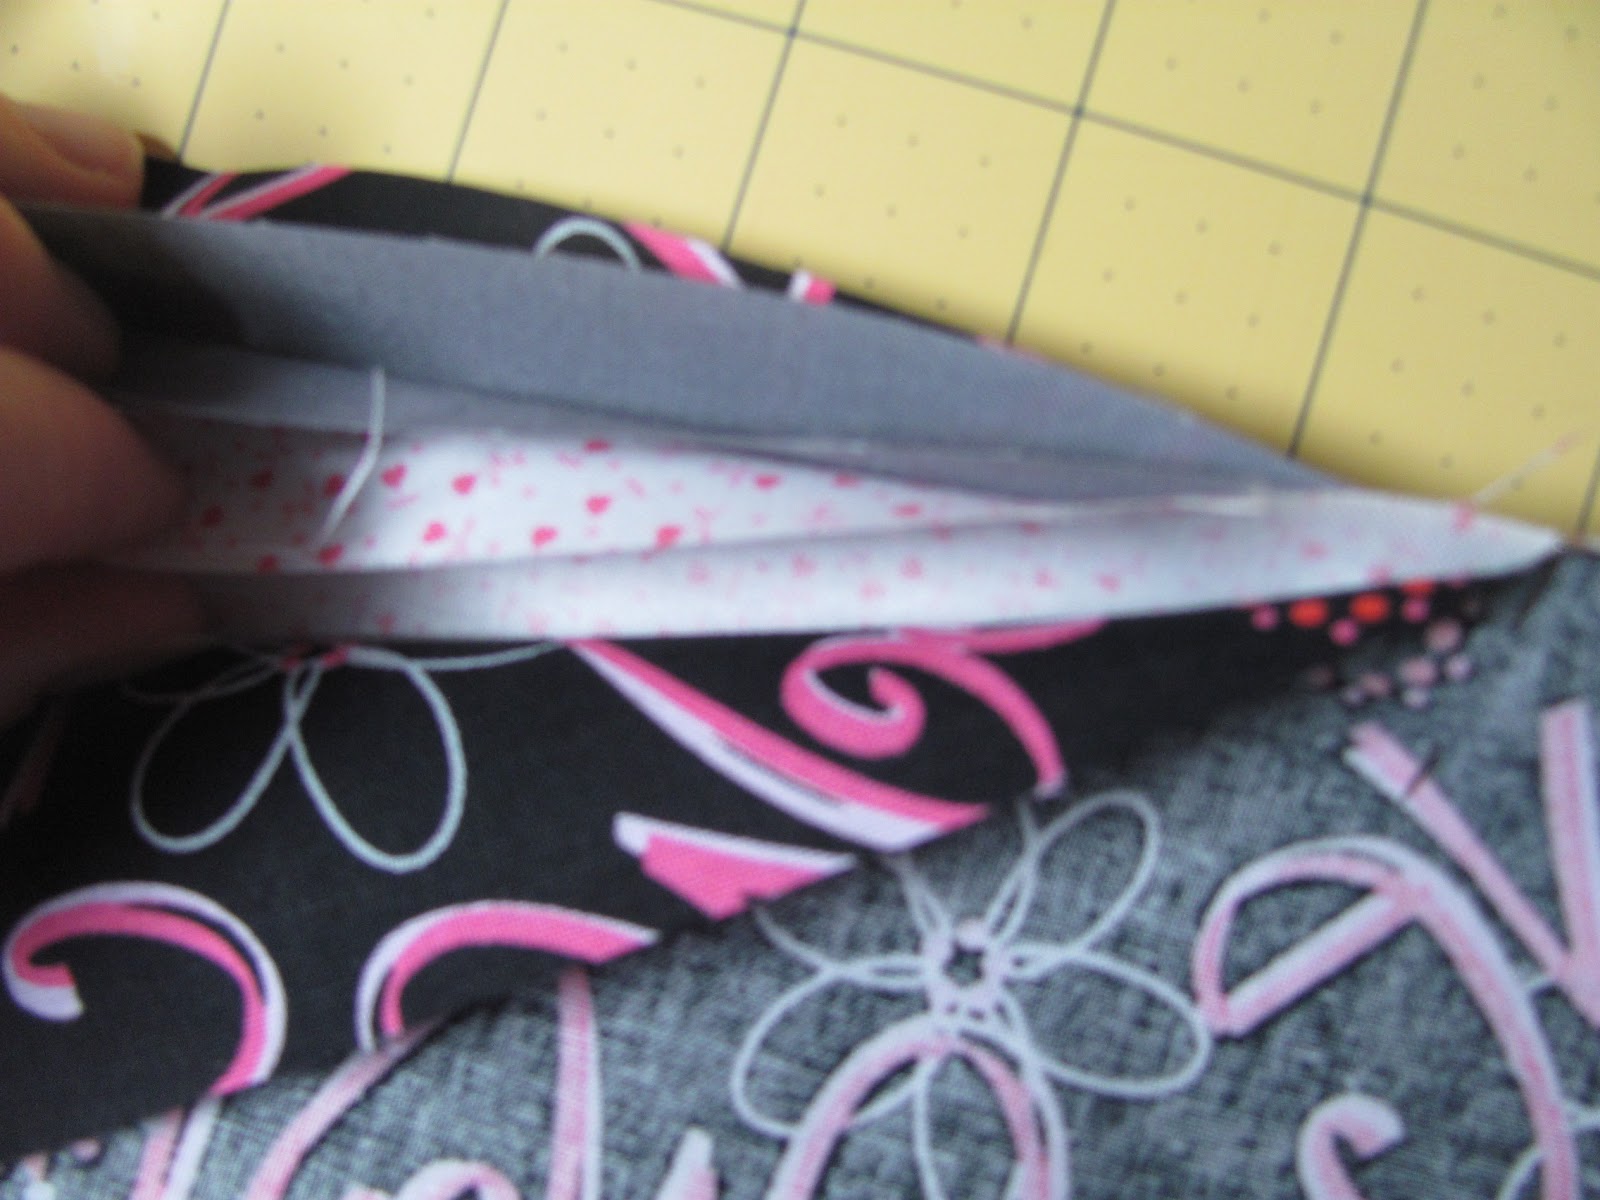
Fold the pillowcase together, right side out.  Pin it (if you want, at this step I usually don't) and stitch around the edge.  You'll want your seam allowance to be less of a 1/4" because we're going to put a clean seam on this part, too.  Stitch the cut edges (see my picture).


Turn inside out and work your corners to try to get a good 'square' corner.  It helps to press when you're working these corners and seams to help make them all straight and even.  Sometimes the fabric is rather uncooperative.  I've found that if I kind of roll the seam with my left hand as I'm ironing with my right, I can get a flatter, straighter seam.


Next, stitch around the edges you just stitched, only you'll be stitching the wrong side of the fabric.  This step will make the 'clean' seam.


Turn right-side-out, trim your threads, and voila - - You've got your pretty pillowcase!!


Oh - and I just had to show you my supervisors for the day.  They were making absolute sure I was doing everthing right............  


They love helping me in my craft room!!  They are in their favorite spot of all!

I hope everyone is having a SUPER Super Bowl Sunday!!

Hugs ~~ Suz

I'm posting this project at these parties!!


Funky Junk's Sat Nite Special


Sunday, January 20, 2013

Outside My Southern Comfort Zone!!

WOW - - can you believe it??  2 posts in one month!!!!  Yay Me!!


Does anyone else LOVE that song by Brad Paisley??  You're singing it to yourself now, aren't you??


There's a reason why I named this post that.............   This past week, I've been working on a project.  I guess it could be considered my first 'commissioned' quilt.  My boss and his wife are expecting their first grandchild.  Mrs. Boss asked me if I would make a quilt for the baby if she bought the fabric.  I said sure  (She's my BOSS'S wife......  I'd never say no!!  Besides, they are great people and I love them!!)

So she got the fabric to me around the beginning of December. It's really cute fabric!  But....  Not what I would pick for a baby boy.  Newborns get baby blue, baby pink, soft yellow, mint green.......... pastels, right?


Yep - - That's Urban Zoologie by Ann Kelle for Robert Kaufman in the Turtle print and they chose some dark brown Kona and Painter's Canvas Magnolia Lane Collecton.  I was told to do whatever but they would like to have big enough blocks with the turtle print.  So that's what I did, but it needed more..... something......... so I also purchased some of the tangerine dots fabric in the Remix line and it just made it.  Before I added it, I asked Mr. Inspiring what he thought and I gave him some options to choose from and he chose the tangerine dots, too. 
 
 
So here's the finished product, before washing......   The front....


And the back.   (That's Mr. Inspiring holding it.) 
 
I think it turned out rather cute!!   I did a disappearing 9-patch and made sure the chocolate was my middle square.  I used chocolate thread and just quilted the turtle and chocolate squares.  I didn't quilt the green rectangles.  Then in the tangerine border, I quilted random squares. 


Sorry about the coloring on these pictures.  I hate taking pictures at night but I get so excited that I want to get the project ready to give.  
 
I'll take it to my boss tomorrow and have him give it to Mrs. Boss at lunch........  I'll be a nervous wreck!!!
 
I think it turned out well!  In fact, I even like it!!  And it went together so quickly!!
 
 
Have a great week, everyone!  It's supposed to be cold here tomorrow!!  Stay warm!!
 
Hugs ~~ Suz
 
I'm joining these parties:
 
 
Fresh Poppy Design